I made an interesting discovery last night as a result of seeing a friends work on Flickr. Ed, the friend in question (who will probably also be reading this at some point) is on Flickr as Vision and Light. His work is excellent but he recently added one image of pine trees in a forest that I find simply stunning. The image looked like it had been shot with an Infrared Camera but it turned out that it was captured on his GX1 and then converted to black and white in Lightroom using a Blue filter (http://www.flickr.com/photos/visionandlight/8421599676/in/photostream).
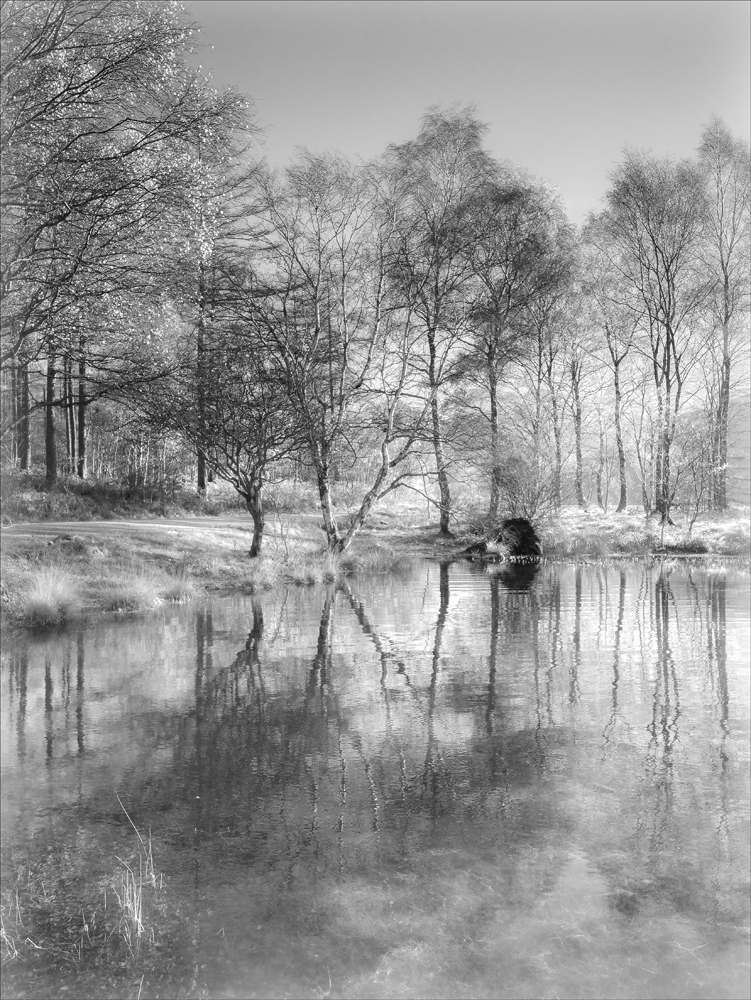
Now the blue filter isn’t something that I would naturally use as it tends to send most images very dark (unless you have a clear blue sky which turns white). As a result I decided to experiment a little with my own images and in particular the one above. Whilst the Blue filter and even High Contrast Blue filter didn’t work for this image the Infrared filter did. What made me really think however is that I have loads of Lightroom Presets (I have downloaded lots) but I never use them other than as an initial set up for some of my RAW files.
In the past I have tried quite a few different “standard” settings for creating that wonderful infrared look but none have been successful. This particular Lightroom preset (ships as standard in Lightroom) was quite different. When I looked at what was happening, it was quite different to most others I have seen. Whilst the Yellow and Green sliders had been pushed to +100% the Red slider remained at 0%. Unusually the Blue sliders also remained at 0% where the common wisdom is to reduce the Blue slider to say -50% to darken blues. Reducing the blue slider is something I don’t like doing usually as it tends to reveal low frequency noise in areas with lots of blue (such as the sky) and can be very difficult to correct.
So the image you see here is based on the Lightroom present for Infrared. Have however removed the grain and made some fine tuning adjustments to contrast and exposure. With these changes made I then exported the image to Photoshop where I added selective blur to the highlights using Focal blade before final sharpening and printing.
The lesson in this for me is that I shouldn’t ignore ways of working such as using presets. The lightweight route is to minimise equipment and processing to achieve great results. I don’t think the Infrared route I have chosen (converting a GX1) is truly a lightweight route; the Lightroom option may have been better in some respects.

That photo looks fantastic! Just two days ago I received my infrared filter (a Hoya R72, which I couldn’t resist at £25). I’ve briefly tried it out on my 5D mark iii and the results are very weird and wonderful! Looking forward to using it properly as the effects are amazing… And this is definitely something to keep in mind when you just can’t face another 10+ second exposure!
Thank you. Yes it is a good alternative to the long shutter speeds.
Like.