The last time I posted here, I was getting all stressed about having yet more interruptions to my photography. I then took some time out for a family holiday where I picked up COVID. Fortunately, I’m now recovered (but still suffering from dizzy spells) and managed to venture out on Wednesday evening. Boy, am I pleased that I made the effort.
I met up with a friend and we headed to Derwent Edge in the Peak District. The aim was to photograph the Salt Cellar rock at sunset, with hopefully the heather in the foreground. Well, the heather wasn’t quite fully out, and the light wasn’t at its best.
Once the sun had set, we headed back (+5km return journey) in the hope of picking up some more shots. That’s when I captured this.
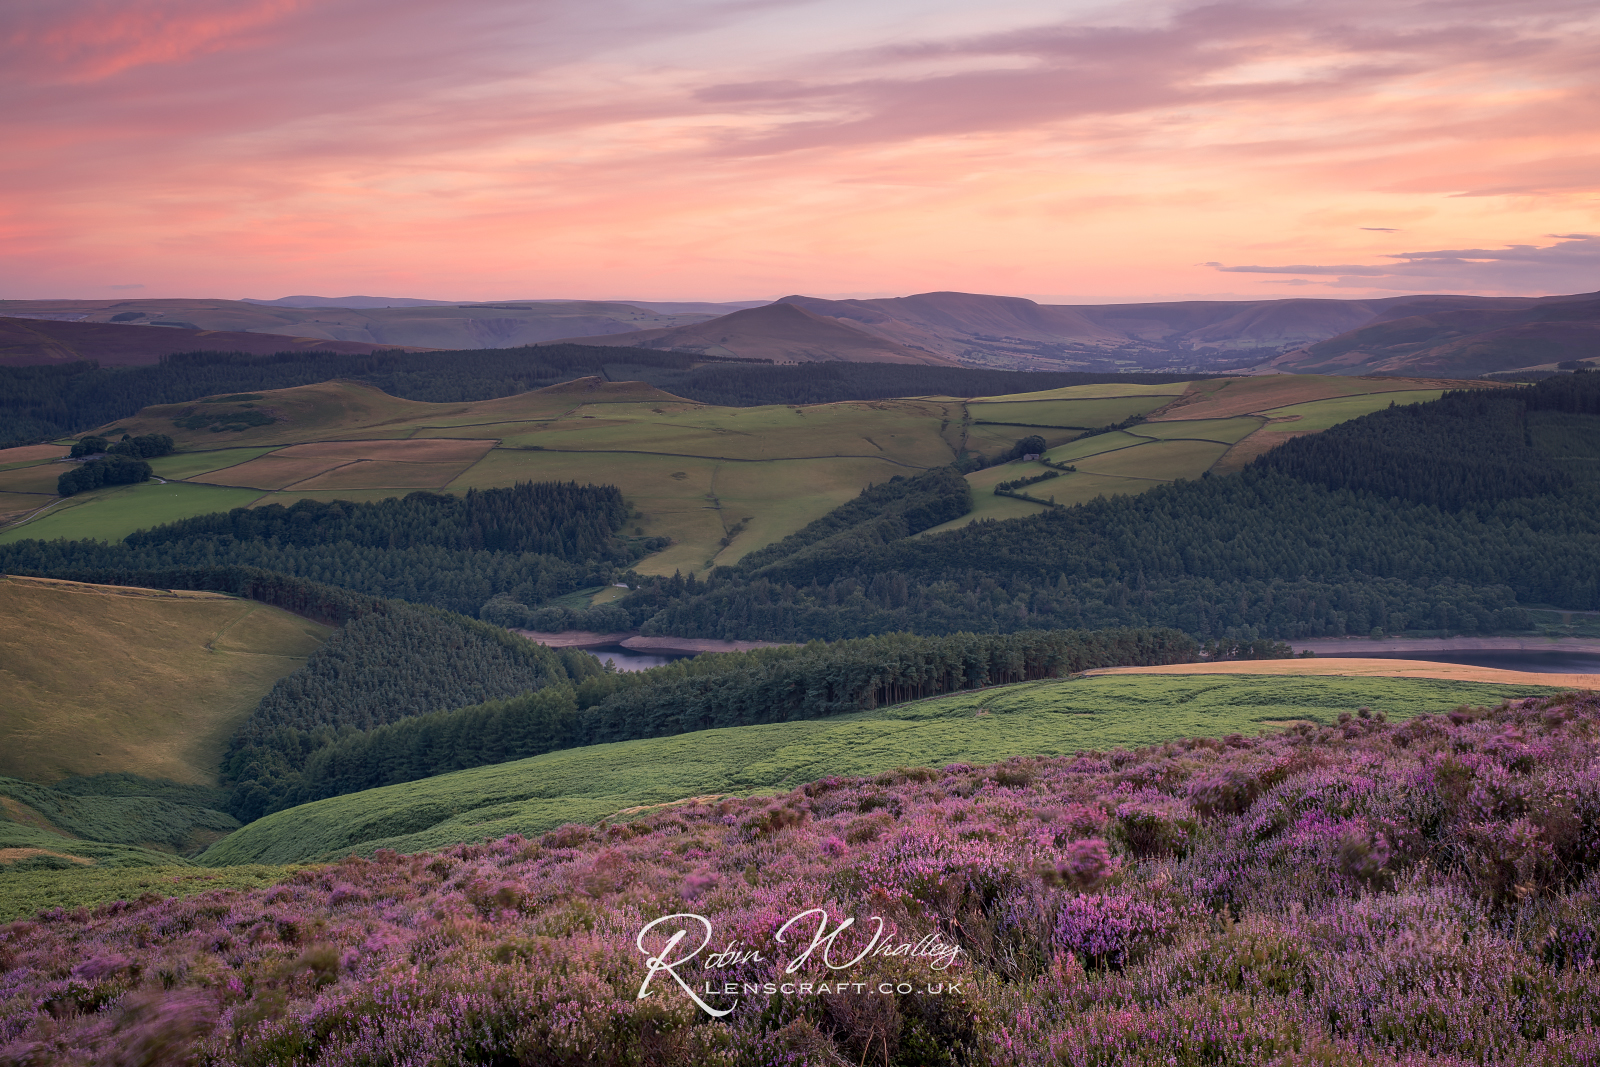
For some reason, the heather always looks best to my eye after the sun has set below the horizon. There were also a lot of high clouds which seemed to catch and reflect the light beautifully. When I saw this scene, I just had to stop and try to capture it. There wasn’t much in the way of a composition where I was, so I made the best of the surroundings using a longer focal length.
I started by shooting a wide-angle at 16mm (APS-C sized sensor) as I was so taken by the dramatic sky. The downside of this was the boring expanse of dark heather in front of me which wasn’t yet in full flower. To compensate, I zoomed in a little to 28mm allowing me to pick out a section of the landscape that appeared more interesting. This also reduced the area of heather making it look like it was flowering more than it was. Although this cut off more of the dramatic sky it created a wonderful, peaceful image.
Camera Equipment Used
The camera I used is a Fuji XT3 with the Fuji 16-80 lens. I had the camera mounted on a tripod and was shooting with a shutter speed of 1.6” at f/13.0 and ISO160. I also initially used a Kase Wolverine 3-stop Reverse Grad on the sky to help balance the exposure with the dark foreground. Surprisingly this wasn’t strong enough and I needed to add a 3-stop soft ND grad filter which worked well.
Post Processing
When it came to processing the image, I used DxO PhotoLab 5 to convert the image to a DNG file. I then processed the resulting DNG file in Lightroom before taking the image into Photoshop. If you would like to know how I integrate PhotoLab and Lightroom, I published a YouTube video a while back explaining the process.
With the image in Photoshop, I applied a few tweaks to the colour and contrast using the Nik Collection 5. This was mainly using the Pro Contrast filter in Nik Color Efex Pro. The Pro Contrast filter is one I use with almost every image, and I think that it’s essential for most photography. I explain more about the filter and demonstrate how I use it in this YouTube video.
Finally, I applied a slight softening effect to the valley area of the photo. The contrast adjustment I applied using Nik Color Efex Pro had made the area look a little harsh and so it needed softening. After that I exported the image, adding my watermark as you see above. I hope that you like it.
This Weeks YouTube Video
Before I go, I will just mention this week’s YouTube video. In it, I share three very quick and easy techniques you can use to remove unwanted people from your photos. The techniques take only a few seconds and can literally make everyone vanish. You can watch the video using the link (https://youtu.be/Xf_Li6-9aQs).
I hope you have a great weekend.
