If you use Lightroom you will no doubt be familiar with the clarity adjustment slider. This can be used to adjust the midtone contrast of an image. Increase the contrast and the finest details pop out of the image. Reduce the contrast and the image takes on an ethereal haze.
In addition to the main Clarity slider found in the Develop module, a clarity slider can also be found in each of the Gradient tools as well as the Adjustment Brush. With the main Clarity slider so easily placed, it can be easy to forget about these other sliders, which is a mistake.
If you ever find yourself in a position where you want to make an object stand out from its surroundings you can achieve this with the Clarity adjustment. But rather than use a global clarity adjustment select the adjustment brush. You should then use this brush tool to outline the object you want to emphasise. Having done this you can apply the Clarity adjustment selectively to the object.
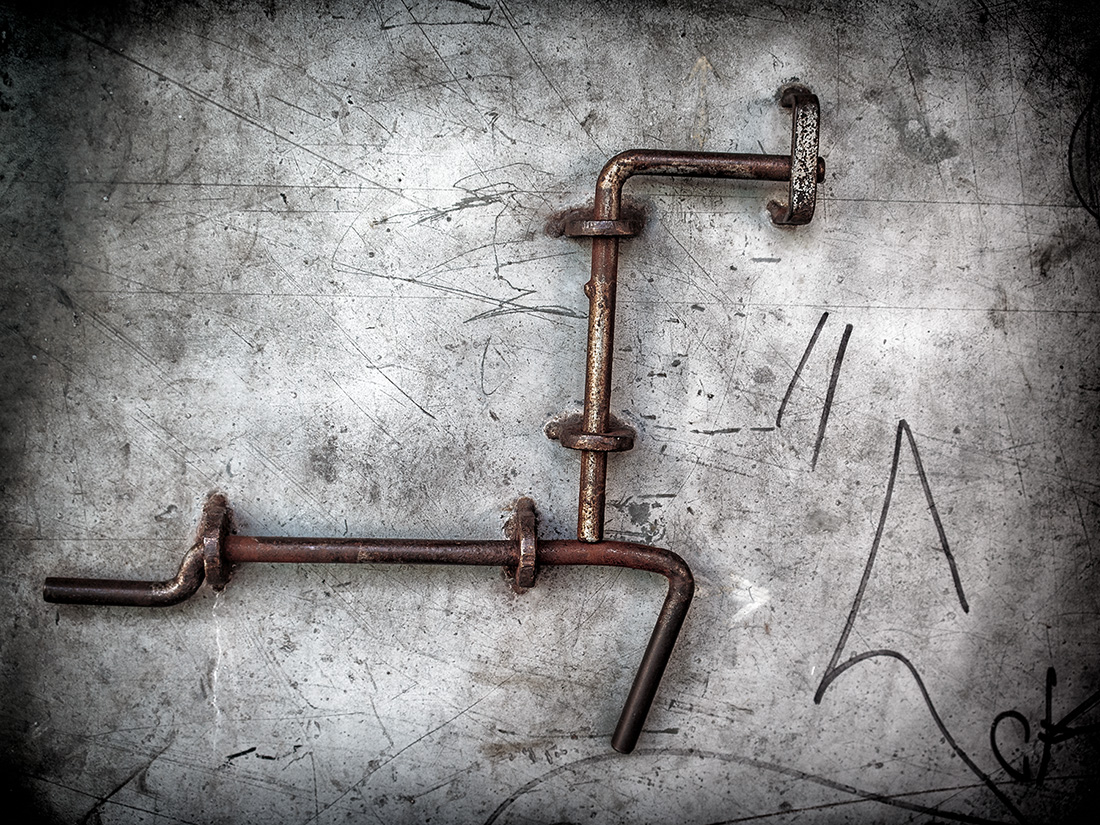
In the image above I wanted to make this door handle on the inside of a steel door stand out from the door as otherwise the image would appear flat. The adjustment brush tool was used to select the handle so that Clarity adjustment could be applied to just that area. This is also a great technique to use with architectural subjects. Also don’t forget that you might need multiple applications with the brush to achieve the desired effect.

excellent photograph!
Thank you.
I have used it the other way to give a soft focus effect in portraits of our baby daughter and I find it can soften up some of the harsh bokeh you get with some cheaper lenses
Yes that’s very true. It’s also very good for that as well as enhancing fog and Infrared images.
Useful advice. Thank you.
Thanks Alan.
Great tip—thanks!
Wyn…
iphone: 858/945-6636 email: wynknapp@me.com
Wyn Knapp, Photographer 1401 East Washington Street Bloomington IL 61701
>
Thank you.