I finally made it out in the evening this last week to take some shots. I met an old friend up on Curbar Edge in the Peak District and we did some socially distanced photography. I really needed this trip and noticed lock down has made my photography very rusty. I struggled to use the camera and I wasn’t finding composing shots easy at all.
The trip also gave me chance to collect more shots for my upcoming Samyang 12mm lens review. I’ve been working on this for some time. I always like to get the feel for a lens over a few months before I share my thoughts. Hopefully, I will get to write the review next week, but I will share a few impressions here.
The image quality from the Samyang 12mm is superb. I’ve owned a few Samyang lenses over the years, and they have all resolved detail well and delivered excellent sharpness. This latest lens is no exception and at least matches what you would expect of a premium Fuji prime lens.
Paired with my Fuji X-T3 (although it’s available in a variety of mounts, the Samyang 12mm feels well balanced and very well made. It’s nice to handle despite being manual focus and not having image stabilisation.
Interestingly, I haven’t missed either of these features. In fact, focussing hasn’t been an issue at all and if anything has made me lazy. I stop the lens down to f/8.0 or f/11.0 and set the focus to infinity. That’s enough to achieve full depth of field for almost any scene.
When I purchased my lens from Amazon 12 months ago, I paid £279. Even though the price has increased slightly to around £300 I still believe this is bargain lens. If I lost mine today, I would immediately order another. I don’t think of myself as being a prime lens user, but this lens is extremely enjoyable to use.
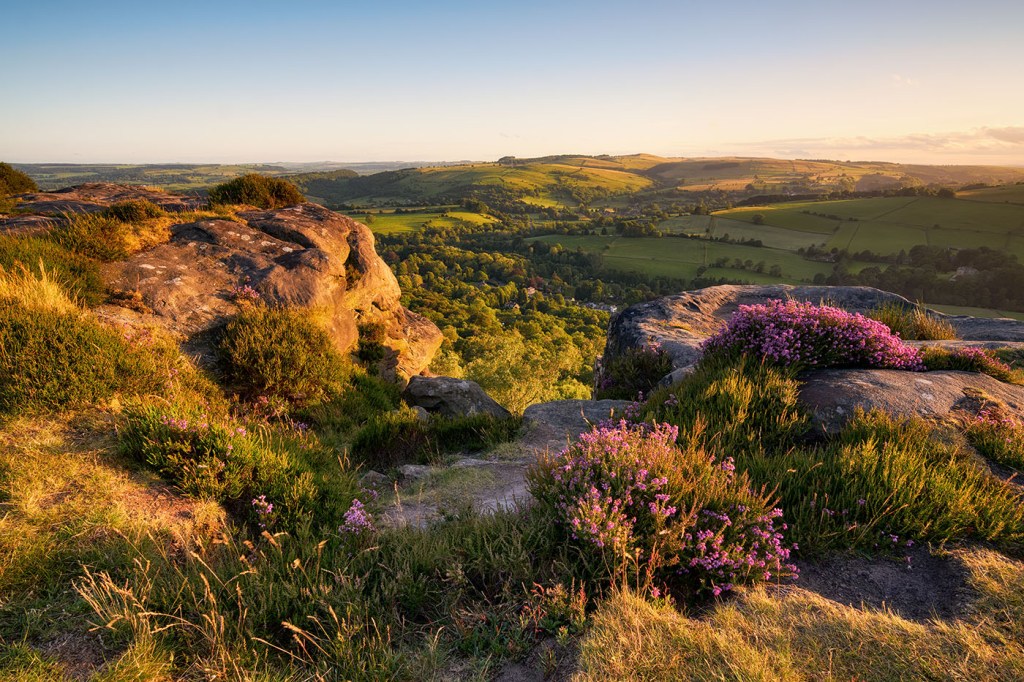
As for the image, I shot this at f/11.0 (focus set to infinity) and ISO160. It’s a handheld exposure at 1/20” without any filters. The Samyang lens also captures colour and contrast well so there wasn’t much to do in terms of editing either.
Latest Video
I will now leave you by mentioning my latest video has just gone live on YouTube. It’s explaining how to replace the colours in an image using Affinity Photo and the HSL Adjustment layer. If you’re a DxO PhotoLab user, you will also probably recognise the HSL Adjustment as it’s remarkably similar.
I hope you like the image and have a great weekend.
