I recently published a Friday Image and mentioned that I had found a new brush tool in the Lightroom filters. My intention was to post a blog explaining a little bit more but the lack of time has prevented me from doing so. That is until now.
The new brush is available with any of the Filter tools (Graduated or Radial) and can be seen on the following screenshot.

It becomes available the moment you draw a graduated or radial filter on your image or select one that already exists. Click on the Brush heading and the brush settings appear at the bottom of the filter panel.
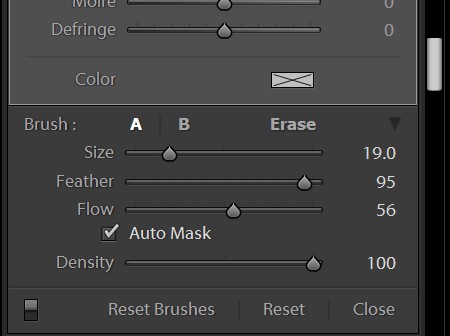
You might well recognise these settings as they are identical to the Adjustment Brush tool. You have two regular painting brushes and an Erase brush. The regular brushes allow you to expand the filter effects to other areas of the image whilst the Erase brush allows you to remove the filter effect from an area.
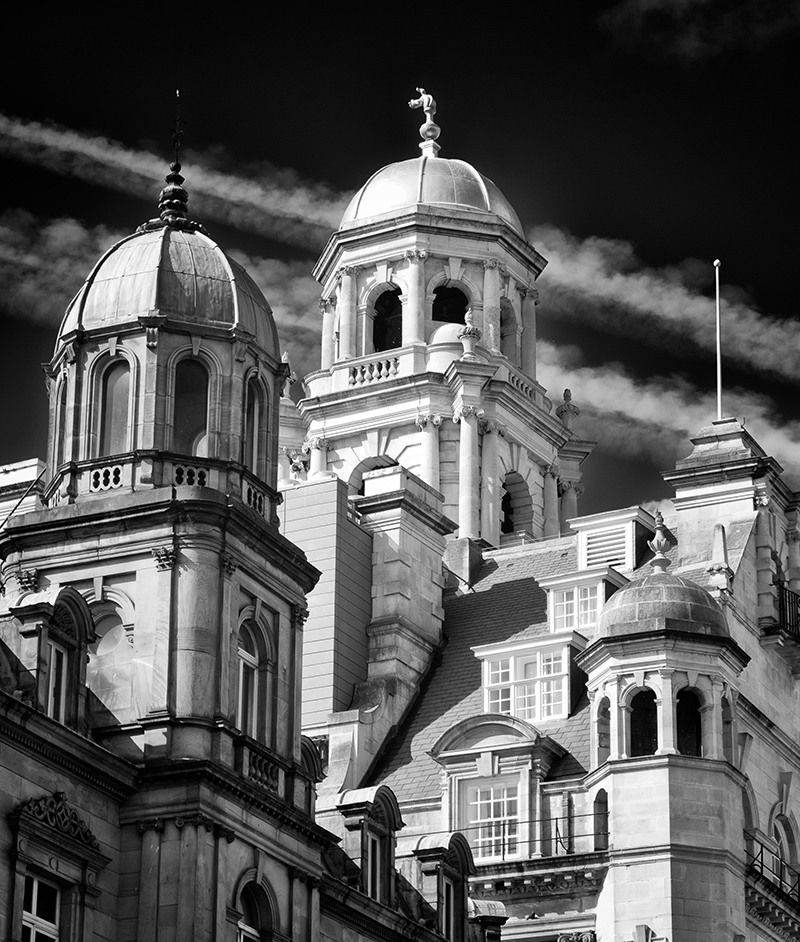
As a Landscape Photographer, the best use I have found for these so far is where I am using the Graduated filter to darken a sky but there are elements above the horizon which are also adjusted. Previously I would need to drop out of the Gradient filter and use the Adjustment Brush to lighten these areas. Now I can use the Erase brush to stop the effect from being applied in the first place.
One other tip for using the brush tool with the Gradient or Radial filter is to ensure you check the “Show Selected Mask Overlay” option at the bottom of the screen.

This displays a red mask which allows you to see the changes you make to the mask as you use the brushes.
If anyone comes up with other useful ways to use this feature I would be interested to hear.
