
If you are a Lightroom user you are probably aware that the recent release of version 6 included Photo merge for panorama and HDR photography. In fact, that seems to be pretty much all that was in the new release. In the past I have written about the merge to panorama but not about HDR.
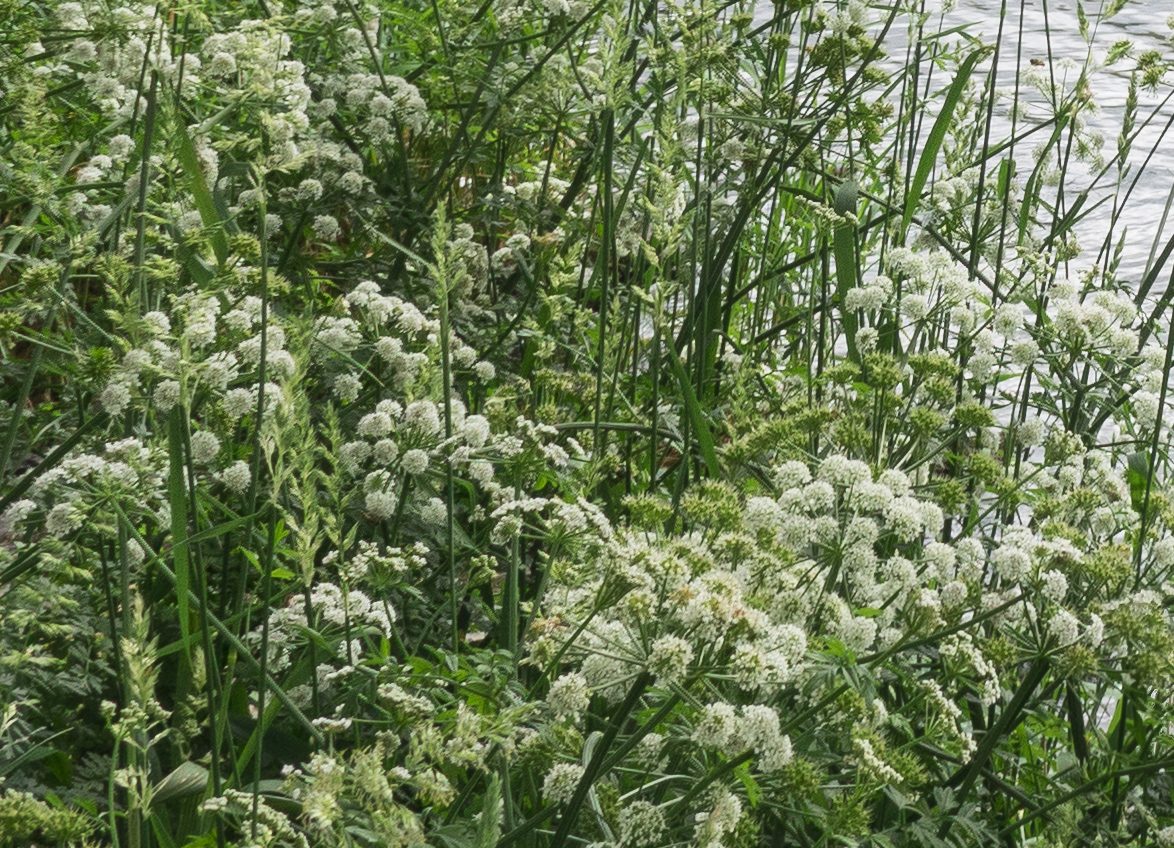
Over the weekend I made an exploratory trip to Wales with a friend and found myself on the banks of a river looking at quite a nice scene. At the time I was shooting Infrared but as the sky clouded up I decided to switch to conventional colour photography using the Sony RX10. Unfortunately the dynamic range of the scene appeared to exceed the capabilities of the Sony (even with a 2 stop ND grad filter for the sky) so I decided to shoot some HDR sequences.
Shooting HDR images in the Sony is a snap. The auto bracketing function allows you to set multiple exposures at quite wide exposure gaps. For this particular shot I chose a 1 stop interval for 3 images. This would give me a correctly exposed image, one that is under exposed by 1 stops and one that’s over exposed by 1 stops. (You can also use 2 stop intervals and a few other combinations if you like). The plan was then to combine these in Lightroom into a new DNG file that could be processed.
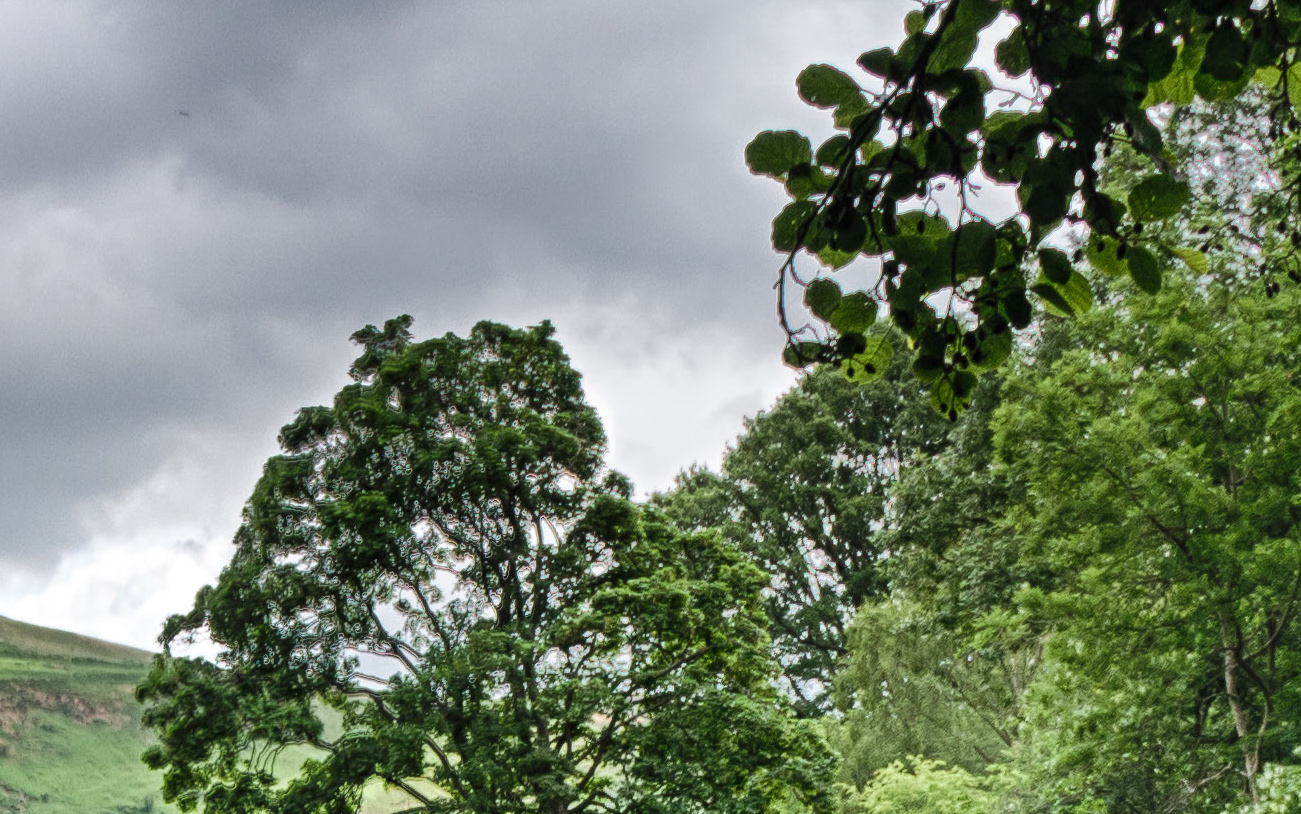
When I processed the images I decided to set the Ghosting option as the images were captured handheld which could have introduced movement. I also expected the trees and plants in the scene to be showing some movement between shots as there was a slight breeze. When I processed the image files and zoomed in the foreground looked quite good.
But when I looked at the upper part of the image I found a significant amount of blending artefacts in the leaves of the trees.

Following this disappointment I thought that I would try the blending in Nik HDR Efex to check the results.
It was a little better but still not perfect. What I did like about the Lightroom version though was that it looked totally natural whilst the Nik version appeared “fake”.
Then I tried reprocessing the RAW file with careful editing. The result is the one you see at the top of this page and came out much better than I had expected. The moral of this story is that you have much more power in your RAW files than you might at first think.

Don’t forget dehaze in LR CC
Your quite right and yes I do keep forgetting about it. I will make a note to investigate further. I tend to use Tonal Contrast in Nik Color Efex.
I really like the idea of HDR in Lightroom and it works very well…but not always, as you highlighted… I have also noticed a serious problem of ghosting when merging photos with a lot of trees and stuff that move. Photomatix Pro is still the number one in my opinion…It manages to fix all ghosting even in extreme situations. Hopefully the Lightroom team will improve the HDR feature cause i like it a lot…I could imagine leaving Photomatix if ghosting in Lightroom won’t be a problem anymore! 🙂
I also like Photomatix although the plug-in for Lightroom seems to keep vanishing from my installation. I also think that you’re correct and Adobe will continue to develop these new features. They are just too useful to ignore.